
This article will demonstrate how to use session in ASP.NET core 2.1, 2.2. We will learn how to configure the session in the startup.cs class, sets a value of a session variable, and then read the value of that session and display it on the user interface.
How to use Sessions in ASP.NET MVC Core 2.1, 2.2
In web development, storing temp data during the lifetime of the request is a common practice. Data can vary from the user logged in information, session IDs, etc.…
In ASP.NET MVC, session configuration takes place in the global.asax and the we.config file. The Session_Start function in the global.asax is the place where developers put their code to do something when a session starts, where the session end is the ideal place to have a code to execute when the session ends. In ASP.NET MVC, all of this does not exist anymore; the configuration of a session has been moved to one place: the startup.cs class.
A brief introduction about the Startup.cs Class
In MVC Core, the startup.cs Class is where all configurations of services are defined, as well as pipeline requests are managed. This class is the entry point of an ASP.NET MVC application. It contains all configuration requires for an application, such as the Use of Cookies, sets up environments, implement authentication, sets session time out.
How to use Session in .NET Core application?
To get started, add the “Microsoft.AspNetCore.Session” package to your MVC application. You can do so going to the NuGet Package Manager.
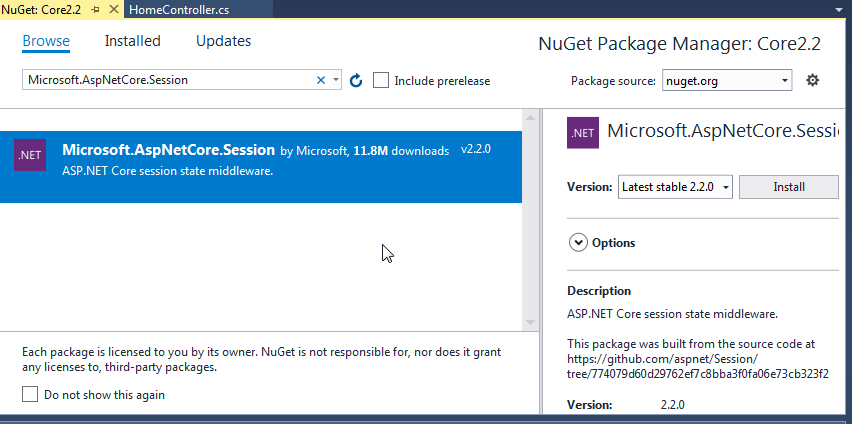
Install the package Microsoft.AspNetCore.Session
Configure the service in the Startup.cs class
Now, let’s configure the services so we can use the Sessions in our application. Open the startup.cs file and add Session Service inside the ConfigureSerivce function, as shown below:
public void ConfigureServices(IServiceCollection services)
        {
            services.Configure<CookiePolicyOptions>(options =>
            {
                // This lambda determines whether user consent for non-essential cookies is needed for a given request.
                options.CheckConsentNeeded = context => true;
                options.MinimumSameSitePolicy = SameSiteMode.None;
            });

            services.AddDistributedMemoryCache();
           services.AddSession(options => {
              options.IdleTimeout = TimeSpan.FromMinutes(10);//You can set Time
                   });
          services.AddMvc();
          services.AddMvc().SetCompatibilityVersion(CompatibilityVersion.Version_2_2);
        }
You can change the IdleTimeout for the session to a value that suits your application requirements. In ASP.NET standard, the default session timeout is 20 minutes. I set up the session to expire in 10 minutes.
Configure the Request Pipeline
Now, we need to configure the Request Pipeline for the session. In the startup.cs file, add the add.UserSession() within the “configure” function as shown in the code below:
    public void Configure(IApplicationBuilder app, IHostingEnvironment env)
    {
        if (env.IsDevelopment())
        {
            app.UseDeveloperExceptionPage();
        }
        else
        {
            app.UseExceptionHandler("/Home/Error");
        }
        app.UseStaticFiles();
        app.UseCookiePolicy();
        app.UseSession();
        app.UseMvc(routes =>
        {
            routes.MapRoute(
                name: "default",
                template: "{controller=Home}/{action=Index}/{id?}");
        });
    }
Set the session variable
Now, open the controller you want to set the session value from. In this example, we are going to put the code in the HomeController. First, we need to put add a namespace to the controller as shown below
using Microsoft.AspNetCore.Http;
And the controller IActionResult Interface
            public IActionResult Index()
        {
            String _user = "Admin";
            HttpContext.Session.SetString("User", _user);
            ViewBag.Name = HttpContext.Session.GetString("User");
            return View();
        }
Read the session variable
Now let’s read the session value we just stored in the ViewBag Name and display it on the home page of our application. Put the code below in your index.htmls file
@{
    ViewData["Title"] = "Home Page";
}

<div class="text-center">
    <h1 class="display-4">Core 2.2 Session Demo</h1>
     You are logged in as:    @ViewBag.Name
</div>
Run the solution

Result
Comments